Tuesday, December 24, 2013

Naked 3 Review!!!

Hello Wonderlandians!

Hope you are having a wonderful holiday season so far. Today I will be reviewing the Naked 3 palette. First of all let me start off by saying that this was one of the hardest things to get my hands on. I tried getting it on Urban Decay the first go around, but it literally sold out in seconds. I then tried it again when they restocked it to no avail. Finally I got my hands on it when Sephora put it up online in their store. Anyways, I know this has been all over the blogging, YouTube, and makeup community. So here I am giving you my two cents on the Naked 3 palette.

Once again I forgot to take a picture of the front of this product.....oops!
This palette resembles the Naked 2 palette in presentation. It has very similar packaging. What is really neat about this palette is that it comes with never before seen colors! All the colors in this palette are brand stinking new! You can't find them singularly they are original to this palette. Which may or may not change in the future, time will only tell.

L-R:Strange, Dust, Burnout, Limit, Buzz, Trick, Nooner, Liar, Factory, Mugshot, Darkside, and Blackheart
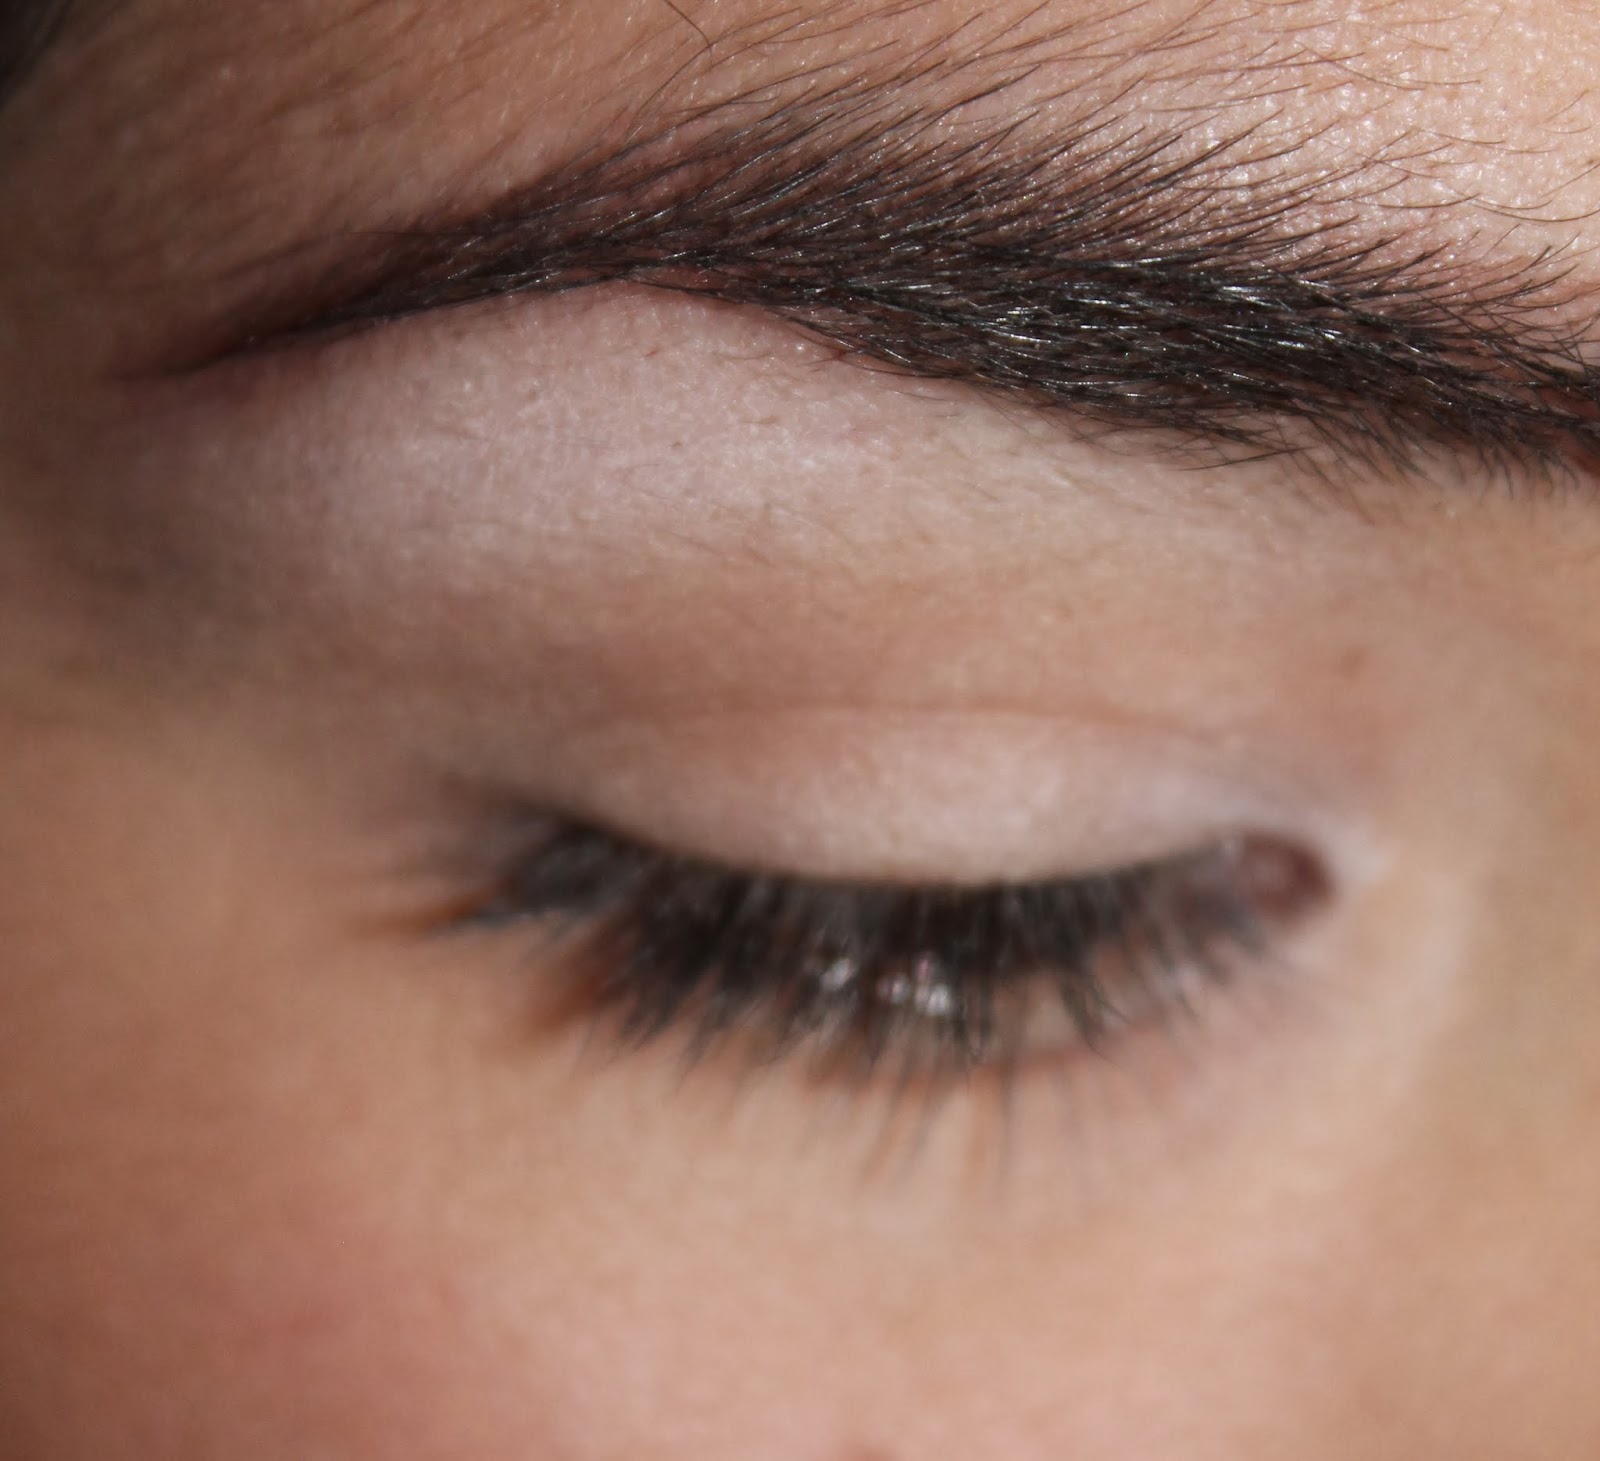
This is my sorry attempt at getting swatches for you. In hindsight I should have probably done only a couple at a time like I had with the Joy to the Girls palette, but that seemed extensive. I will have it down one of these days...

Overall I give this product 9 out of 10 tarts!

Alice Points:
-I loved the fact that this palette featured new never before seen eyeshadows
-Pigmentation is good, about the only one that gives me any trouble is Dust. The eyeshadow dust gives you    some fall out and you really have to pack on the color.
-There is a mixture of both mattes, shimmers and metallics in this palette and while I know some people wanted to see more mattes, I personally prefer shimmers so I was very happy.

Red Queen Points:
-I used one of the primer samples that comes with the palette and honestly I wish they had given you a mini sample instead of just one of the primers, because the one I opened dried out over night and it states that each one is good for up to a week. So that was kind of a bummer.

I hope you enjoyed this review and until next time!!!

Yours Truly,

Abstract Alice
xoxo

Friday, December 20, 2013

Joy to the Girls Review

Hello Wonderlandians!

Today I will be reviewing the Joy to the Girls palette by Too Faced. This was probably THE most excited I have been for a palette. I love makeup and I sincerely love Christmas so when you put them both together I can hear a choir in the background. I first came across this palette while browsing holiday sets online. The other palette I was really wanting was the Few of your Favorite Things Palette, but unfortunately they ran out before I could get my hands on it.

Well without further ado:

I was very excited to find this in my mail box! Excuse the other products in this picture, I forgot to take a picture of the front.
 
Here is what the product looks like on the inside. As you can see it gives you some 'Looks' which serve great as a guideline to those fresh into the makeup world. As you can see above the palette comes with 15 eyeshadows and a full sized Lashgasm Mascara.

L-R: Cookie Dough, Cheers!, and Prancer

L-R: Sugar Plum, Mulberry, and Snow Angel

L-R: Powdered Sugar, Too-Too, and Yule Log


L-R: Chestnut, Twinkle, and Joy
L-R: Spike the Punch, Chimney, and Coal

All these swatches were done without primer. I have to say overall I really liked the color payoff. There were a couple that I thought could have been better executed like: Prancer and Yule Log. My favorites in the palette are: Twinkle, Mulberry, and Chestnut.

I have to say I actually really liked this mascara for my bottom lashes. I prefer a fuller brush end for my top lashes, but this thinner end makes it perfect for coating bottom lashes.

Alice Points:
-This palette offers plenty of colors to play with. It comes with 5 matte colors (Cookie Dough, Mulberry, Snow Angel, Powdered Sugar, and  Coal), 9 I consider shimmers (Cheers!, Prancer, Sugar Plum, Too-Too, Yule Log, Chestnut, Joy, Spike the Punch, and Chimney) and 1 I consider to be metallic (Twinkle). Plus I live that they all have very festive names!
-I appreciate the full sized mascara

Red Queen Points:
-Some of the color do have excessive fall out, which is kind of sad
- Color Payoff was good, but I thought it could have been a bit better

Overall I give this palette 9 out of 10 tarts. I know this may seem rather high considering, but honestly I do love this palette and although it has things that could be better, simply having it be Christmas themed is a plus for me.

Hope you enjoyed this rather long review and until next time!

Yours Truly,

Abstract Alice
xoxo


Wednesday, December 18, 2013

Black Friday Haul 2013

Hello Wonderlandians!

Today I will be showing you some of the things I managed to snag this Black Friday. First of all let me tell you that all this was bought online. I do not even fathom going out during Black Friday...*shudder*

This year round I bought mostly makeup...last year I bought an ipod touch and the year prior a canon camera which I use to take pictures for this blog.

 
What I got:
  • Urban Decay
    • Naked 3 Palette
  • Too Faced
    • Air Buffed BB Creme in Cream Glow
    • Jingle All the Way
    • Joy to the Girls
    • Makeup Bag
  •  Lime Crime
    • Pink Velvet
    • Geradium
I ended up getting a lot more than I had originally planned, but I could not resist with all the wonderful deals that were being given. The only thing I paid full price for was the Naked 3 palette and the velveteen from Lime Crime. Other than that I got everything on sale!!!

Hope you enjoyed this Haul and until next time!

Yours Truly,

Abstract Alice
xoxo

Tuesday, December 3, 2013

Ipsy Glam Bag Review ~ November 2013

Hello Wonderlandians!

Today I will be reviewing the November Ipsy bag. First I must say that I have not been more excited for a bag than the one for this month. What got me excited was that they would include an example of Michelle Phan's new makeup line Emcosmetics. I have been watching Michelle Phan's videos for quite some time now and I was very happy to hear her announce her new makeup line.

This month's theme: Glam It Up

What is in my bag:
-Kiss ever ez eyelashes
-em cosmetics waterliner in Emerald
-Nailtini Nail Polish in Cavier
-Be a Bombshell Lip Crayon in Shameless
-Starlooks eye pencil in Amethyst
-Pixi Bronzer in Subtly Suntouched (not pictured)
L-R: Amethyst, Emerald, Shameless

Products w/o packaging
Alice Points:
  • Starlooks eyeliner is now a favorite of mine to use on my inner corner to brighten up my eyes
  • I am really enjoying the eyelashes, they look very natural and give your lashes an added boost
  • The waterliner is AMAZING! It stays put and its easy to blend
  • I also loved the Pixi Bronzer it is the perfect color for my skin tone
Red Queen Points:
  • Although I like the Nailtini polishes I already had a similar color to this one so I wasn't all too excited about this nail polish
  • The lip crayon is a very pretty cranberry color, but you have to constantly reapply it, it doesn't stay on my lips very well
 Overall I give this bag 8 out of 10 tarts. I was very happy with the products in this bag overall. I have created some nice looks with the items from this bag and I look forward to creating more.

Hope you enjoyed this review and don't forget to keep an eye out for more posts coming soon!

Yours Truly,

Abstract Alice
xoxo

Thursday, November 28, 2013

Holiday Party Look No.1~ Cranberry Dream

Hello Wonderlandians!

Recently I have been very busy with both of my jobs, but I did promise 3 things and today I will be shoing you my holiday look. I love the color of cranberries and so I used them as the inspiration for this look. I tried toning down the intense cranberry colored eyeshadow with a reindeer brown color (can you tell I am in the holiday spirit?). This looks works well as an evening party look, but feel free to rock it when you please.

So now on to the tutorial:

Today I will be showing you how to achieve this cranberry inspired holiday look:


Here is a step by step on how to achieve this look. Bare with me as I am not used to having to take a picture after each step in the process is done. I also have realized that I do not have adequate lighting so the colors are a bit off. Still I hope you like this look.


 First thing is first we must prep our canvas and in this case, that is the face. I used Urban Decay's Naked Skin in shade 2.0 and then I used the Hard Candy concealer in the color Light. I powdered my face with the MAC Mineral Finish in Medium. I also took the liberty of filling in my eyebrows with the Chella eyebrow pencil I received in my Ipsy bag.


I then primed my eyes with the Lime Crime eyeshadow Helper. I used the Nyx Jumbo pencil in Milk to create a lighter base around my inner corner and brow bone. I used Nyx eyeshadow in Aloha, which is a beautiful light champagne color. I then took a cranberry shade from my BH Cosmetics 120 1st edition palette and focused the color in the center of my lid.


I then took the reindeer brown shade right next to that color and used it on my crease and blended it in to towards the inner corner of my eye without quite getting all the way there. I used windshield wiping motions to blend the colors and to fade out the brown into my crease highlight color. I also took some of the brown and ran it underneath my lash line.


 Tight line your eyes  and wing out your eye. Feel free to make the wing as exaggerated or as subtle as you would like, I went for something in between.


I decided to throw on a pair of false lashes in order to give the look a bit more of an edge. I used Le'Creme eyelashes not really to sure on the name, but I got them on my Mexico trip a couple years ago. Make sure to coat your bottom lashes with mascara in order to balance out the lashes.


As finishing touches I contoured my face using Pixi's Bronzer in Subtly Tanned, which I also received in my Ipsy bag. I also used the Orchid blush by MaryKay. 


Of course last, but definitely not least, the lips. I used a berry liner I own. I then used the Be a Bombshell lip pencil in Shameless from my November Ipsy bag. On top of that I put on a bit of Lime Crime's Present to add shine.

Hope you enjoyed this tutorial and keep an eye out for more to come! 

Yours Truly,

Abstract Alice
xoxo


Wednesday, November 13, 2013

California Love

Hello Wonderlandians,

I wanted to let you know about a recent decision to move back to California. I will spare you the details of my decision, but I do have to let you know that postings will be minimal for the next month. I will be back on a regular schedule, once I am home and settled. I have a couple looks and reviews scheduled for the rest of this month. I hope to do a daily December Christmas special of sorts. Let me know if this is something you would be interested. I'm not too sure on the details on that yet, as my tentative date for my return to California will be in December. Well either way keep an eye out as there is more to come.


Yours Truly,

Abstract Alice
twitter.com/abstractalice
www.youtube.com/theabstractalice
instagram: abstractalice

Monday, November 4, 2013

October Favorites

Hello my Wonderlandians!!

I would like to share with you my October Favorites. As you may know I have recently moved to Alaska. I made several goals for myself whilst I am here. One being that I would write more. Having this blog is a way I hope to accomplish that goal, not to mention that I love all sorts of things and while I know my focus has been on beauty thus far, I hope to expand my posts into more of the things I love. Such as reading, writing, painting, and more.

Anyhow back to the main point about this blog post favorites.

In the month of October I have been pretty busy with interviews and then finally landing a job. With an up and go routine such as mine I like to keep things to the basics. So the first item I would like to share with you all in my October favorites is my Holika Holika Petit Jelly BB Cream.


This product is amazing and lasts all day, perfect for those on the go days. This BB cream is also mattefying so no powder needed. Which is a bonus on those hurried mornings.

For lip products I have been loving is my Urban Decay Lip Envy in the color Greedy. This is a lip tint in a berry color perfect for Fall/Winter. You can bet I will be rocking this tint for the next seasons to come. Another lip product I have been loving is the Mirabella sheer lipstick in Daydream. This lipstick looks pink, but I find it to be the perfect pinky nude on my lips. It is very moisturizing and creamy on the lips.
For eye products, I have been loving the Maybelline New York Great Lash colored mascaras. These mascaras are great, not only are they a great way to add something extra to your look, but they are pretty inexpensive which is great if you are trying out new things.

For my face products, I have really been enjoying the Simple Face Wash. It is non-drying which I really like although here in Alaska I do find it does dry my skin out a bit, a problem I did not have in California whilst using this product.

 That is all for this post. Be sure to keep an eye out for more to come.

Yours Truly,

Abstract Alice
xoxo

P.S. let me know in the comments below if you would like a makeup tutorial.


Tuesday, October 29, 2013

Halloween Look No.2 ~ Sugar Skull #1

Hello Wonderlandians! Today I have a very interesting interpretation of the Dia de los Muertos Sugar Skulls. I personally wanted something a little more Monochrome-ish so I decided to stick to 3 colors: black,white and red.

I have always been fascinated by the Catrin and Catrina. In this post I hope to share with you some pointers or guides in helping you achieve your Sugar Skull look or interpretation.

What I used:
  • BH Cosmetics 120 Pallette (1st Edition)
  • MAC Liquid Liner in Rapidblack
  • Nyx Jumbo Pencil (Milk and Black Bean)
  • Starlooks Eyeliner (Obsidian)
  • Julia Sanchez Cosmetics (White)
  • Maybelline Great Lash Mascara (Wink of Pink)
Ignore the fact that I already had some makeup on from my day. I will be covering it up. First I began by taking the Nyx Jumbo Pencil in Milk and placing it all over my face like a  foundation. I made due with this considering I had no face paint and it worked quite well.
 Then you will want to set it with white powder. I used my eyeshadow from Julia Sanchez Cosmetics. Something I had picked up in my travels to Mexico.

Next you will want to start outlining the eye sockets to create the skull candy eyes. I used the Starlooks eyeliner to outline and then used Nyx Jumbo Pencil in Black Bean to fill it in.

As you can see this is how it looks outlined....


....And this is how it looks filled in :)


Oh by the way I blended with my fingers and then used a brush to make the edges as even as possible. Afterwards you want to set it with a black eyeshadow I used the one from the BH 120 pallette.


I then used the Starlooks eyeliner again to draw the little half circles around the eyes and chose to fill them in with a vibrant red from the BH 120 Pallette. I also took that same red and contoured my cheek bones and added a bit of it on my chin and forehead.

The next thing you want to do is just simply be creative and roll with what your hand tells you. Keep to curvy lines and add in your own personal style to the look and most of all have fun :)


The best thing about the Sugar Skull looks is that each one is unique and there are an infinite amount of combinations possible for creating this look. I hope you had fun following me on this Halloween makeup look and until next time.

Yours Truly,

Abstract Alice
xoxo


Friday, October 25, 2013

Halloween Look No. 1~ Lioness/Feline

Hello Wonderlandians! Today I will be showing you how to achieve this very edgy Lioness look. Hope you are all looking forward to Halloween as much as I am. I hope to inspire you to think outside the box and maybe even encourage you to try something crazy or out there :)


What I used:
  • Naked Skin Foundation by Urban Decay (3.0)
  • Nyx Jumbo Pencil in Black Bean and Milk
  • Starlooks Eyeliner in Obsidian
  • MAC liquid eyeliner in Rapidblack
  • LA Colors Tan compact
  • J. Cas Beauty Eyelashes 
  • DUO adhesive
  • Lime Crime Coquette
  • Pixi Flawless & Poreless primer
  • Rimmel Wake Me Up Concealer
  • Naked Basics (crave eyeshadow black)
  • It's So Big Mascara
 First things first you have to prep the canvas you will be working on. In this case it's your face. Here you can see the dot method I use to put on my foundation...I then blend with what I feel like blending that day be it my brush, fingers, or blending sponge...In this look I decided to use my fingers.

I then went in with the concealer and put some under my eyes to hide sleep deprived bags and around my nose to hide redness. I also put some on a blemish or two.

I then used the black eyeshadow to make my eyebrows a bit more messy and fuller, not to mention hairy...I also went in and added black liner to my tight line and waterline. I decided to start off with the feline nose, but after finishing this look in hindsight I would leave it for last as it can easily be smudged.

I then went in and did a very strong feline outline around my eyes with a liquid liner and I added a couple of highlights with the Milk Jumbo pencil and details...such as eyelashes I used demi-lashes just on the outer corner of my eyes to give them a little more oomph...
Ta-dah my Lioness (looks more like a cat) look :D Just tease your hair into a giant messy poof and you are all set to go!! I had a ton of fun making this look and putting it on. And although taking pictures as you progress through a look isn't entirely easy, I quite enjoy sharing my work. So I hope you liked it and look forward to more Halloween looks by me...


Yours Truly,

Abstract Alice
xoxo

Thursday, October 24, 2013

Halloween Awesomeosity!!!

Hello Wonderlandians! I  know I have been slow coming on the post lately, but I hope to make it up to you by sharing with you one of my MOST favorite holidays with you...Halloween!!! Although you probably knew that from the post title haha...

Halloween to me is such a great way to reinvent yourself and take a plunge in discovering a new you, because basically everything is accepted for Halloween, use it to your advantage to find a new you (if you're looking that is). If it doesn't work for you, play it off as a costume ;) No one will think twice.

I am not promoting Halloween as a means to disguise who you are, but rather a gateway to being who you are or who you would like to be. For example you like Catwoman's confidence and allure, why not be her for Halloween and channel her and see if it's something you like. I personally love playing dress up, especially with the world as your playground.

My goal this Halloween is to share with you my disguises for this year, ending with the one I wear Halloween day :)

So keep an eye out for future post to come and I look forward to sharing my looks with you. I will be doing 5 looks this year. Not sure of the dates they will be going up as I am just transitioning into a new job, but rest assured they will be up (even if it's 2-3 a day).

Yours Truly,

Abstract Alice
xoxo

Thursday, October 17, 2013

Ipsy Glam Bag Review~ October 2013

Hello Wonderlandians! Today I will  be reviewing the October Ipsy bag for you.

The October glam bag theme was: The Art of Beauty
What the bag included:
  • Zoya Professional Nail Lacquer in a beautiful shimmery blue color
  • Coastal Scents brush sample
  • La Fresh Oil-Free Face Cleanser
  • Bella Terra Mineral Shimmer in Emotions
  • Sexy Hair Blow Dry Gel
Bella Terra mineral eyeshadow w/ flash
Bella Terra w/o flash
Overall I give this bag a 9 out of 10 tarts!!!

Alice Points:
-The pigmentation on the Bella Terra mineral shadow is amazing and it is a gorgeous purple plum color.
-I love the Zoya nail polishes and I have received one before in my May Glam Bag and I loved it.
- I am always on the hunt for new brushes and the one in this bag is great and makes blending super easy

Red Queen Points:
-I have received the La Fresh cleansing wipes before and they were too harsh on my skin and dried it out. I haven't used this month's wipes if only, because I am wary of my last experience with them, however I will make sure to give them a go and let you know how it goes.
-I don't own a blow dryer so this makes the Sexy Hair Blow Dry Gel kind of pointless, but if I ever get my hands on a blow dryer, I will be sure to let you know how it works. (I may be the only girl in the world who doesn't own a blow dryer or so I have been told).
Zoya Nail Lacquer

Hope you enjoyed this review and look forward for new post soon!

Yours Truly,

Abstract Alice
xoxo


Sunday, September 29, 2013

My BB Cream Collection

Hello my Wonderlandians!

I  know I have gone missing for a bit these last couple weeks, however I am back and whilst I cannot promise a day with regular postings yet, know that I will do all in my power to at least have a post up per week. Once I have my schedule down and I have settled down to my fullest capacity here in Alaska I hope to have regular postings on Mondays.

I am a big fan of BB creams or Beauty Balms as some people call them. I own 4 different types and each one is good in its own way. I own 2 American brand BB creams, 1 Japanese brand, and 1 Korean brand. I love each of my BB creams a lot, but I would be lying if I said I didn't have a favorite.

These are all the BB creams I own at the moment
 The BB creams I own are:
  • Maybelline New York Dream Fresh BB cream (Light/Medium shade)
  • Urban Decay Naked Skin Beauty Balm 
  • Junkisui BB 
  • Holika Holika Aqua Petit Jelly BB cream (shade No. 2)
With Flash L-R: Maybelline, Junkisui, Urban Decay, and Holika Holika

W/O Flash L-R: Maybelline, Junkisui, Urban Decay, and Holika Holika
Overall I think that BB creams are a great alternative to using foundation especially if you like a lighter coverage. While there is some heavy coverage BB creams out there I like the light coverage mine offer. I have pretty good skin and therefore do not need heavy coverage foundation, although I do own some for photography purposes. All in all I recommend all these BB creams. If you are looking for very light coverage I would recommend the Maybelline Dream Fresh BB cream especially in the summer! If you are looking for medium coverage I recommend the Urban Decay Naked Skin BB or the Holika Holika Aqua Petit Jelly BB cream. And if you want a bit heavier coverage I recommend the Junkisui BB cream.

Which is my favorite you ask?
 - My favorite of all the BB creams I own is hands down the Holika Holika Aqua Petit Jelly BB cream. It provides just the right amount of coverage and has a cooling effect on your skin. This is my go to BB cream for almost all purposes.

Keep an eye out for the individual reviews!!

Yours Truly,

Abstract Alice
xoxo


Sunday, September 15, 2013

Ulta Haul No.1

Hello Wonderlandians!

As you know I have been MIA this past couple weeks. In my defense, however I have been in a rather transitional phase in my life. I have recently moved to Alaska and am only now really situated. Why Alaska you ask? Look forward to my next post ;)
I could not part with California before getting some beauty staples, so I share with you my Ulta Haul. I had  made 2 trips to the Ulta beauty store and let me tell you both times were fun and eventful. The first time I went it was 3 girls and 2 guys luckily I have some awesome guy friends and saw the fun in this adventurous spree. The second time I went was with my lovely sister and afterwards we went to go see a movie, but enough about the days events. Let's get down to what I got those days:

What I got:
  • Maybelline Colorsensational in Hot Plum
  • Nyx Jumbo Eye Pencil in Milk and Black Bean
  • Nyx Roll On Shimmer in Purple and Sea Foam
  • Nyx Eyeshadow in Aloha
  • Urban Decay Naked Basics Palette
  • Real Techniques Makeup Basic Brush Set
I must say that overall I did not spend as much money as I thought I was going to, which I was very happy about. The products I was most excited about were the Nyx Jumbo Eye Pencils and Roll on Shimmer. I have been hearing great things about Nyx and I wanted to see what all the buzz was about. I have used both Jumbo Pencils quite a bit since I first bought them and I must say I am quite pleased with the product.

Look forward to future reviews of these products in detail.

Yours Truly,

Abstract Alice
xoxo

Thursday, August 15, 2013

Artzy Nails- Galaxy Nails

Hello fellow Wonderlandians!

Today I will be showing you how to obtain beautiful galaxy nails :)

Here is what you will need:
  • Blue, yellow, white, and glittery nail polish of your choice
  • Bobby pin or dotting tool to make the moon
  • Cotton ball
  • Base and Top coat
Feel free to use whatever colors you have or to take your own spin on it :)

 First Step: Put a base coat on your nails.
Second Step: Apply to coats a blue nail polish
 Third Step: Grab a cotton ball and tear it in half and dab it in some white nail polish. This will create the clouds on your nails. Do this to all nails or if you want a statement nail do it to a finger of your choice.
 I chose to apply it to all my nails. 

 Fourth Step: Use a dotting tool or end of a bobby pin to dip into yellow nail polish and paint a circle on your finger of choice. This will be the moon in this galaxy design.

 As you can see I chose my index finger.
 Fifth Step: Take any sparkly nail polish and put on one coat on all nails.
Sixth Step: Apply a top coat and let dry. You can choose to not do this step if you did the step above.

Hope you enjoyed this tutorial and until next time,

Abstract Alice
xoxo